Posts mit dem Label eyeball werden angezeigt. Alle Posts anzeigen

Donnerstag, 31. Oktober 2019

"Eyes" - Art Elements Theme Challenge


This month's theme at the Art Elements theme challenge was chosen by Laney - Eyes. A wonderful topic and one I sadly was not able to explore as much as I would have loved to. There are several work in progress projects and maybe some of them will also be finished some day (yes, I still haveUFOs that are several years old ;) ).


What I love about the monthly theme challenge, is that it gives me ideas for my blog posts at Art Elements (and hopefully may serve as inspiration for you as well). 


This time I updated one of my old tutorials to create these tiny wee eyeball earrings! They always make me smile, especially mounted on the skull card. 


Although it is not directly fitting to the theme, I also wanted to give you an update about my new ceramic palettes and upcycled/repurposed water color palettes. 


Although not a perfect fit, I managed to put the two smaller test pieces in an old tin I had available (I love old tins!). In some of the small wells I put some water color as well.


The make-up palettes worked better than I thought! Yes, the lid won't open fully so you can't use it as palette but on the other hand it is so small and light weight and allows me to bring way to many colors with me ;)


Even my glued in dividers to create more wells in the lowest row (the are for the make-up brush) worked really good.


I think the plastic itself will be stained over time but nothing that worries be too much. Oh, and I added some Beatles Moeskin sticker on top! Just... because...


The ceramic palette with the larger wells was the only one that had some crackling with the glaze. I didn't notice while using water colors, but I also used some acrylic ink with it and it stained the crackles (being acrylic, maybe it also sealed them as well ;) ). 


A reference picture with my hand so you get an idea about the size.


And the gorgeous tin from the outside! Honestly, all of it worked way better than I thought and I regularly now used it as home as well while sitting on the couch and painting. I got a lot more tins from a friend (she know me, found them on a flea-marked and got them all for me!) and I will try to create some ceramic palettes that fit them. My plan is to finish them before christmas.


Back to the theme... Here are some of my sketches. Playing around with color combinations and styles, not all worked but that is what a sketchbook is for.


And this colorful one is my favorite!


Also an eyeball creature... the people who played pen and paper with me, know these creatures ;)


And my unfinished projects... I painted some eyeball cabochons (some also with glow in the dark paint). The plan is to combine them with polymer clay and create a book cover with a lot of eyes looking at you.


I also remembered that I carved eye stamps during the Luna moth challenge some months ago...


The upper two are still some of my favorite stamps ever.


I played with them on book covers but there still needs to be a lot of marks added to the covers as well as some metallic accents here and there. Also a project that would be nice to be finished before christmas (this year's one).


Thank you for joining us on this month's theme challenge! Laney, I loved your theme even though I was not as productive as I hoped too! But I will finish some of the UFOs! :)

And please have a look at all the other participants!

Art Elements Team
Susan  
Marsha  
Claire  (you are here)
Jenny  

Guests
Dawn  
Hope  
Kathy  
Tammy    
Cat  
 

Samstag, 27. Oktober 2012

Embrace your thumb prints!


Strange titel for a blog entry? I just wanted to show you why I learned to embrace the thumb prints I leave on polymer clay: The create another layer of structure! Look at the big eye and the silver colour: This is just a silver lacquer pen over the raw polymer clay. Together with the liquid polymer clay on top  and the shiny gloss it creates all the thin lines which makes the eyeball so cool! And created with just one colour over my thumb prints! ^^

In case you want to see how big they are: Here hext to my elefant earrings! 

The other eyeballs I made with image transfer on polymer clay :)


Now I just need another monster sewing project to use the eyeballs!


Dienstag, 23. Oktober 2012

Organic!


More earrings, what do you expect from me? ^^ 

I am into this organic feeling the earrings have! With the dark green and the added metallic colour on top, as well as the structure itself...

Any idea what I used as mold / stamp?


An immature acorn! One of the really tiny ones! Just fall before me... and I had to take it with me! Pressed in a ball of clay it creates this stunning structure!

And some more eyeballs... made with image transfer :)


A strange combination next of each other...


Samstag, 20. Oktober 2012

On my worktable and some tiny eyeballs just for you!


There is a lot which I am creating at the moment. But it takes time and I only find this time in between all the other important aspects of the normal life. This time is then dedicated and to create earrings from polymer clay will go over  time period of days and weeks.


Just little steps... molding, pressing, baking, painting, baking again, adding, painting, glossing, drilling....


But there is a need to create, just to make "stuff". I calm down, something inside of me relaxes... settles down? It is hard to describe it in words but more often than not there is too much going on inside my brain. Not bad things, all kind of thoughts, ideas, worries as well as the opposite... just too much. Bursting. Racing. Bubbling. (I always wanted to use this word! ^^) I would never change that in itself! But it drains energy. Reading, talking, watching some movies... that all is great but no help. In the back of my brain everything is still working. But creating stuff, to go from ideas over experimenting, to have all the sensations from the visual idea to the touch of the material, that brings it all in order.


In the end creating is a catalyst while calming at the same time. Ideas need room and time to develop. Even in the own mind.


I love to see how things turn out in the end. How my creating evolve. How many facettes of myself are inside my work.

And I can let it go. As long as it will be with someone who really wants to have it!

So for the long time with just some spare blog entries: Here some view from my workingspace! (if you wonder, I won't show you the rest of the table or the surroundings! No way! I see all the people showing pictures from their space, calling it a mess... and I think by myself: You don't know what a real mess looks like! ^^)


Also: I will have a little giveaway! 

You can get a pair of my tiny eyeball earring studs! It will be a very short giveaway because I want to sent it to you in time before halloween (you see, the giveaway is worldwide but I live in germany... and the mail is often not the fastest...).


How to enter?


  • Just leave a comment here (and be sure there is a way I can contact you!)
  • For a second chance: Become a follower (or already be one) and tell me in a separate, second comment.

Entries will be open until wednesday, 12 pm, CET.
(24th october)


Look at his blue eyes! How can you resist? ;)


Sonntag, 14. Oktober 2012

Have a look! - More of polymer clay eyeballs


A lot of eyes printed out with a laser printer! All of them are images from real eyeballs I just changed the saturation, contrast and also a little bit the colour itself so that they are brighter! 

I was asked to go more into details with my eyeballs as well as image transfer and yes... I nearly forgot but I took pictures from the process creating this eyeball jar (more pictures here):


I just little empty honey jars I had (or rather: my family had at home! I was there taking a look at the house while they were abroad. So the prize was: Some jars lost to their daughter ^^).


You see the difference between a normal (left) and a very high colour (right) saturation? The last one works better for image transfer because you always lose some colour due to the transfer process.


I cut the eyes in shape with a little border left. 


To see my other eyeball tutorial: have a look here. I just use a very similar technique: Making a ball from white polymer clay (fimo classic) and pressing it in form. 

Lay the eyeball image on top and press it carefully but firm onto the clay.


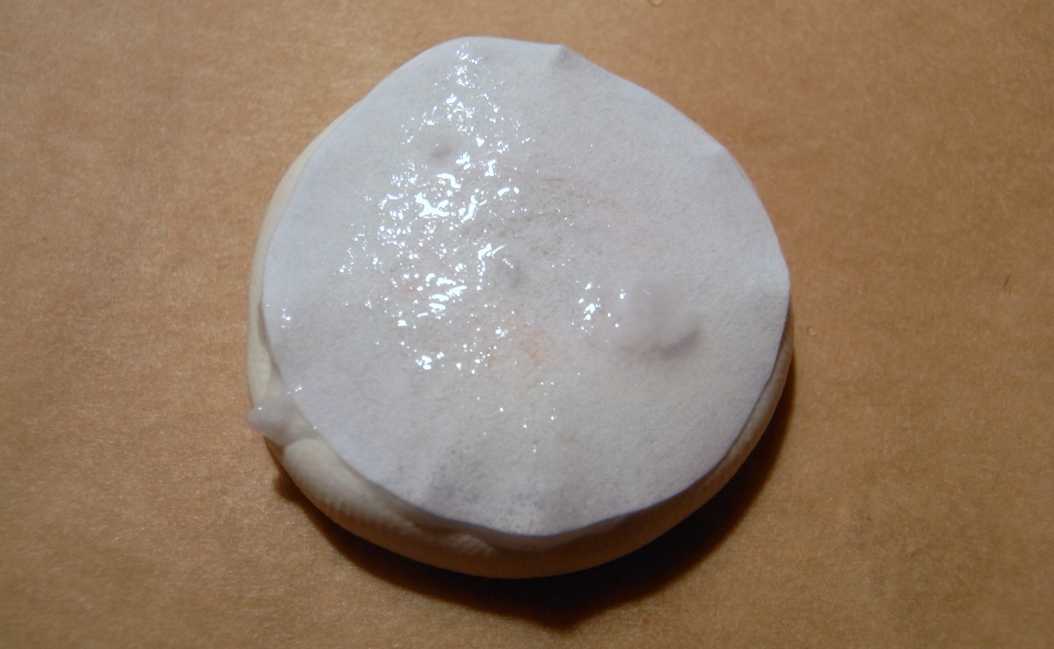
Use some water to wet the paper. Just give the water a minute to soak through the paper...

...you will start to see the image through the wet paper!


Now starts the process which will take some time to really get used to but there is no other way than trying it again and again. In the end you will be surprised how easy this is! You just have to get a feeling how to rub the paper fibers off without smearing the image in the clay.


The fibers start going off. I am working in circles from the center to the outside. But I know that friends use other techniques and they also work quite well.


...more and more...


In the middle it is now perfect. No more pressure needed. There are some paper fibers left and as soon as they are dried you will see them clearer and they will hide a little bit of your image. But there is no need to remove them all. As soon as you add shiny gloss it will look again like in the wet state! 


And really: Add at least 5 to six layers of shiny gloss / lacquer. It makes a great difference! (while being such an easy trick ^^)

That was it! :) Of course adaptable for all kind of image transfers!

PS: Yes, I have a lot more to show you... still... no quiet moment was avaiable... but I will take my time in the next days to prepare all the pictures and blog entries! :)

Samstag, 29. September 2012

Little eyeballs studs earrings, what else?


I made tiny eyeballs out of polymer clay and used them to make tiny stud earrings! Have a look here to see how I make "my" eyeballs out of polymer clay (fimo). 

I glued the eyeballs to blank stud earrings...  and added a lot layers of shiny gloss varnish / lacquer (from the brand fimo, because this is really good compatible. With other shiny gloss the surface becomes sticky after one or two weeks...)


After that I wanted to add them to a little card for showing them at fairs or just to create a cute little gift for family and friends. I remembered the great skull graphic from Karens graphic fairy which I already used before. I just resized the image (3 cm width, I tried it) and printed it out.


I glued it on card board (I just got a lot cardboard already cut in size from a friend! Soooooo great!) with double side adhesive tape...


...and punched holes into the eyeholes of the skull!


...add the tiny eyeball stud earrings and that was it!


Look at the beautiful blue eyes!

(and the gorgeous smile!)


The back...


...and all the other ones!


Especially the silver gives a nice effect!


Just more pictures... because I loved them all and was not able to edit it ^^


(Edit: I used added the links... and by the way: My stud earrings are all 5 €, I was just asked ^^)


LinkWithin

Related Posts with Thumbnails