Dienstag, 29. Oktober 2013

Sonntag, 20. Oktober 2013

Flowers for a wedding


 Here are the finished earrings. This time I made the flowers bigger than my first test batch. This also made it a lot easier to create them. My first batch consisted really on tiny wee flowers! Have a look here :)


I baked the flowers, carved the back so I could fit in the silver earrings and then attached it all with more polymer clay. This time I used cernit white porcellain because it is slightly transparent and it is not sticky at all. Normally this makes it a more difficult clay to work with but works wonder to create this absolutely thin flower petals. 


You can see the metal through the clay. I made a pair of earrings and a single flower to go as pendant for a necklace. My friend who commissioned these pieces for the weeding of a friend of her (still following me? ^^) would also add a silver bail to it. I just baked a silver jump ring in the back and balanced it out so the flower would hang very nicely.


The balance was also my biggest issue. I could have used earring blanks for this but always the roses would rather face downward (even being very light) and I don't like this look. I know that a lot of ready-made earrings people buy have this fault. I am always wondering if nobody else is seeing this? 

And after all the pictures without a pop of colour, here a picture how bright the flowers are! :)


They are a little bit uneven, you have the pattern of my thumb prints on top and there are not identical and all of this together creates something magical. The image of a delicate flower. Simple but surprisingly difficult at the same time.


New cut shape - ornament petals


The beads are stamped on polymer clay (fimo classic) and then roughly cut by hand with a scalpell. Just following the lines of the pattern. The beads for both earrings started from the same polymer clay colour, they just got a different colour of acrylic paint on top. 


Both kind of glas ebads, the dark and the ligh blue ones, are actually quite old czech beads. I got them from Rumpels mother. She had a collection of glas beads she intented to use (but we all know how this may go). So knowing that I love to make jewelery, she generously gave them to me! I love to use them knowing abozt their history and age (even if they don't look old). 


Dienstag, 15. Oktober 2013

Tiny white flowers


These are my training pieces for a special earring commission. A friend was helping a friend of her (I never meet her) with her wedding. The bride had some ideas about her jewelery in mind so I started to play around. Her inspiration were white flower earrings (you know the kind of flower, made with resin and a mold, nice but you can see at the first glance what it is and how it was made). 

My favorite polymer clay to work with is fimo classic. But in this case I switched to cernit porcellain white. It is a beautiful white with a subtle translucent. You can't see it without comparison to opaque white but it creates a more delicate feeling. Also the cernit is not as sticky as fimo classic (which itself is already not as sticky as a lot of other brands) therefor I was able to freeform the single petals between my fingertips. I learned to love finger prints to create more structure (thanks to all the books of Christien Friesen :)) and for these flowers it also makes all the difference.

I also made them with fimo effect translucent. Also beautiful but they have a complete different feeling. Not as fitting as the porcellain white from cernit.


All together, yes, I played around to get a better feeling how to make them.


Here is my finger next to them: Just so you get the idea how tiny they are! 


This was the first method I tried. Nice and I see a lot of uses for them but not... not perfect. This is why I started then really to make every single petal one after another.


The final pieces are also made, she wanted the flowers to be bigger! ^^ The weeding is also over so therefore I can show you know all these flowers. I still have to edit the other pictures with the finished pieces...

...and I feel so, so, so honored that someone (who doesn't even know me) would wear earrings made by me to her wedding!

PS: A little trick if you need to work with your finger tips and the clay sticks to your skin: Use baby (talcum) powder! It works wonder. Just use it at the end because if you already have a non-sticky polymer clay and mix it with these powder, it just crumbles. But as soon as you have your little pieces to flatten and to form between the finger tips, it works so great.

Montag, 14. Oktober 2013

Dots of colours!


To test pattern and colour combinations I just love to make these tiny dots of colour. Small earings (or earstuds) that create a beautiful effect. It allows me to see if something is working or not. Also to challenge myself with new ideas and with colours that are... let's just say not really me ;)


There are also my best seller at every fair. They are unique, handmade and also I sell them at a good price. And most people love to buy something. If you go to a fair you want to buy something, just a little thing. Like a memory to hold :)


Leaves, stamps, head phone surfaces... nothing is safe!


Really nothing ^^


Sonntag, 13. Oktober 2013

Dragonfly - to hold my cards...


Of course, a dragonfly... I needed one too. This one I made to let it sit on top of my business cards while I am at a faire. So if there is a little bit of wind, they won't fly away. Uhm... yes... I already had to run after some blown away cards... ^^

Samstag, 12. Oktober 2013

Use your spices, knitting needles and whatever you can find! (making more molds)


Cardamon, mustard seeds, fenugreek seeds, pepper... I was sorting through my spices and I just thought I had to try to create new molds for structures or pattern with them. I really go for an organic look and feeling. 


Just roll out a thin sheet of polymer clay (I am using fimo classic most of the time) and press the spices on top. 


Looks as strange as it looks great, nai?! I baked the clay with the spices (and the seeds went into trash afterwards, don't even think about eating them after the had contact to polymer clay! ;) ). 


Here you see a first test with another thin sheet of polymer clay. Such a cool organic texture...!


Also always great and easy: Use knitting needles to make molds! Just press dots and circles in clay.


The pattern created with bigger seeds...


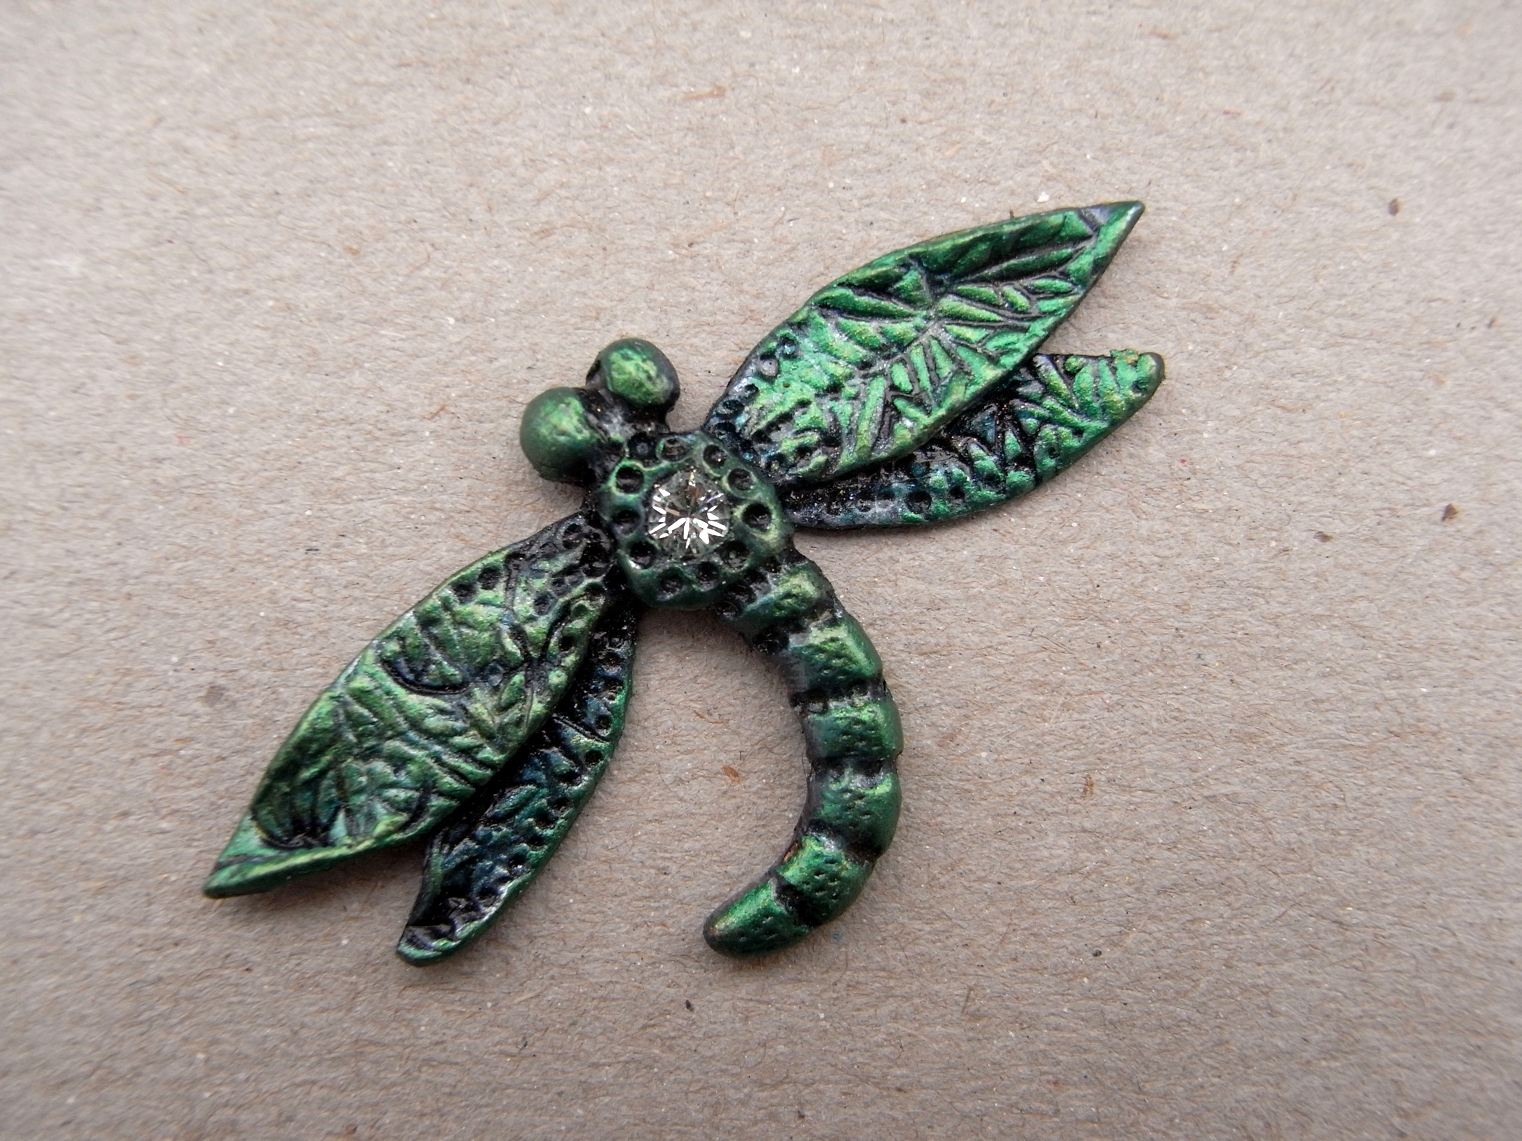
I have a lot of carved wooden stamps. I use them for a long time now for textile print as well as polymer clay. But I really like if my pattern come up and create raised structures on the surface. I stamped in polymer clay and filled the open areas with dots made with a knitting needle. 


One of my new favorites!


Just knitting needles and pen tips used.


But surprisingly organic again!


And some samples with scrap clay (I paint over my beads most of the time therefor that is perfect for me). A lot of them are already painted and I even made some earrings that also already have found a new home (by the way, I am curious if the new owner would recognize her earrings seeing the non-painted beads ^^).


I am so intrigued by this patter. Also surprised again how much a pattern can change if it is not stamped down but raise up. 


Here you can see a pair of earrings I also made with this mold.

And of course I had to show you an old pattern again but still one of my favorite ones. With every batch of new molds and stamps, structures and pattern, there are some that are not working, a lot that are nice and okay and just a few that just create the feeling of being perfect fitting for me. 

You can see some finished pieces I made with this pattern here. :)


Freitag, 11. Oktober 2013

Inspirations: On the streets (Leipzig)


A friend stayed for some days with us. It was her first time in leipzig, so we walked quite a lot through the city (yes, until the feet hurt!). We looked for famous places as well flea market and little shops. And also it is great to have new eyes to look around... because these images were all found and taken by her! :)


All the threads... ensnare your necklace!


I love to recycle jewelery. There is something tempting to reduce something in its single parts and use them to create something new. I am always buying a lot of fashion jewelery on sale. Especially for small charms and glas beads there is nothing easier and cheaper and with a surprising diversity. I also love the challenge. Take something - disassemble - create something new. 


This is a really easy and fast project. This necklace was covered in strange neon (not good looking) nylon yarn and cheap glitter glass pieces (maybe I will use these with polymer clay / fimo otherwise I really don't know what to do with them). But below was a great metal necklace blank. 
Perfect to cover it with yarn! I already made earrings (have a look here) and after this I think I will try some bracelets :)

The end I secure by using some additional layers of yarn with a tiny drop of superglue.


This is embroidery yarn with a little bit of shine in it. Subtle but beautiful! 


LinkWithin

Related Posts with Thumbnails