

A lot of eyes printed out with a laser printer! All of them are images from real eyeballs I just changed the saturation, contrast and also a little bit the colour itself so that they are brighter!
I was asked to go more into details with my eyeballs as well as image transfer and yes... I nearly forgot but I took pictures from the process creating this eyeball jar (more pictures here):

I just little empty honey jars I had (or rather: my family had at home! I was there taking a look at the house while they were abroad. So the prize was: Some jars lost to their daughter ^^).

You see the difference between a normal (left) and a very high colour (right) saturation? The last one works better for image transfer because you always lose some colour due to the transfer process.

I cut the eyes in shape with a little border left.

To see my other eyeball tutorial: have a look here. I just use a very similar technique: Making a ball from white polymer clay (fimo classic) and pressing it in form.
Lay the eyeball image on top and press it carefully but firm onto the clay.

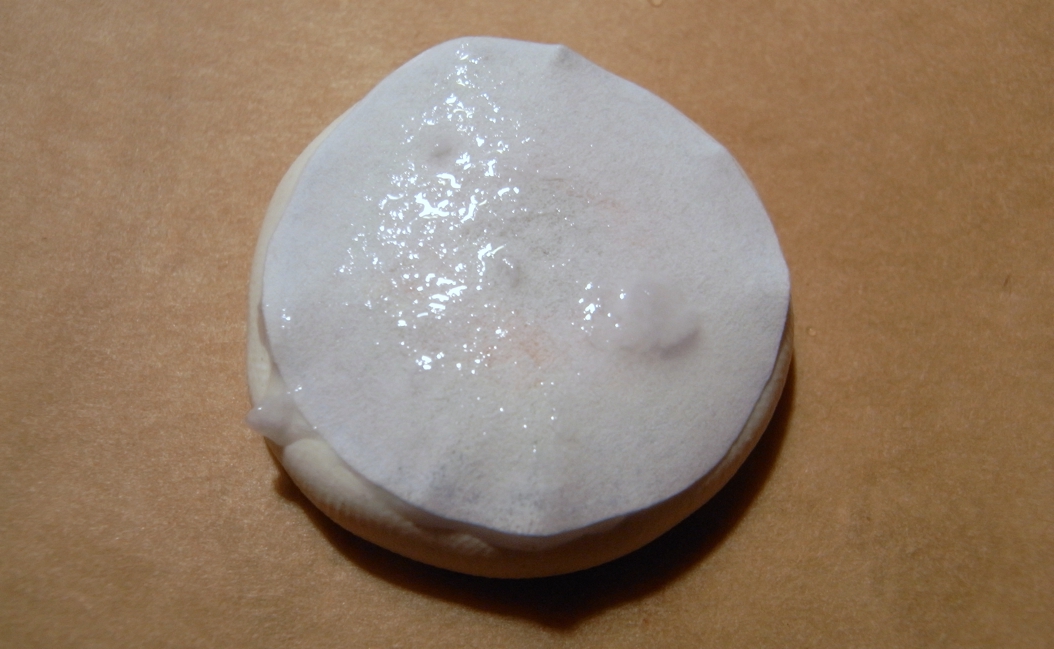
Use some water to wet the paper. Just give the water a minute to soak through the paper...
...you will start to see the image through the wet paper!

Now starts the process which will take some time to really get used to but there is no other way than trying it again and again. In the end you will be surprised how easy this is! You just have to get a feeling how to rub the paper fibers off without smearing the image in the clay.
The fibers start going off. I am working in circles from the center to the outside. But I know that friends use other techniques and they also work quite well.

...more and more...

In the middle it is now perfect. No more pressure needed. There are some paper fibers left and as soon as they are dried you will see them clearer and they will hide a little bit of your image. But there is no need to remove them all. As soon as you add shiny gloss it will look again like in the wet state!

And really: Add at least 5 to six layers of shiny gloss / lacquer. It makes a great difference! (while being such an easy trick ^^)
PS: Yes, I have a lot more to show you... still... no quiet moment was avaiable... but I will take my time in the next days to prepare all the pictures and blog entries! :)

The sheet of eyes: beautiful! Thanks for more detail on your process - it's amazing the result you get from a paper transfer.
AntwortenLöschenGreat idea! I think it would make a great pendant (I think that's what you call it, some kind of amulett thingy), jewelry... Beautiful work! :)
AntwortenLöschenHugs,
Micky
This is a fascinating process! Thank you for sharing. Linda @paperseedlings.com
AntwortenLöschenThis is so awesome! I love it. Newest follower!
AntwortenLöschenxo Sam
DIY Huntress
How clever! The finished version at the top with the eyeball peeking through is very cool. It would be fun to do this on other items as well, with other pictures.
AntwortenLöschenLiz
What a cool look!
AntwortenLöschen